

What’s up, devs? Today we’re going to talk about Docker, a useful tool for developers and one of those buzzwords you hear everywhere. We’ll cover what Docker is, why we need it, and explore Docker Hub, containers, images, and other related terminology. By the end, you’ll be able to talk confidently about containers and be ready to use them when needed.
Let’s not lose time and get started!
What is Docker, and why is it so popular?
So, let’s discuss what Docker is, why we developed the need for it, and how it fits into a developer’s workflow.
Docker is a platform that provides isolated environments, also known as containers, which include all the software necessary to run your application.
What does this mean? Imagine you have an application, maybe a fitness tracker or another app, and you wrote it on your machine running Linux, with all the SDKs and extensions needed to build and run it locally.
Now imagine you have a new computer running Windows, with no SDKs installed, just a plain system with a browser, and your goal is to run your app and see it in the browser. This is where Docker becomes helpful. When you create a Docker image for your app, it already includes all the necessary dependencies, so your app can run anywhere Docker is installed.
Let’s clarify what a Docker image is:
Docker image is a snapshot of your application that contains all the dependencies required to run it. When you create an image for your app, it can be easily transferred to a new system and run without additional setup.
So think of it as an instruction or blueprint for how a Docker container should be built.
A Docker container is the actual place where your application runs. When you run your image inside a container, it includes all the necessary libraries, OS components, programming languages, and so on, so your app can run smoothly.
The biggest benefit is that it’s lightweight. You might see a lot of comparisons between Docker and Virtual Machines (VMs). Basically, VMs share the same host but have a hypervisor, while Docker uses a single host and Docker environment with multiple containers (or 1), with each container having its own independent and isolated space.
See the picture.
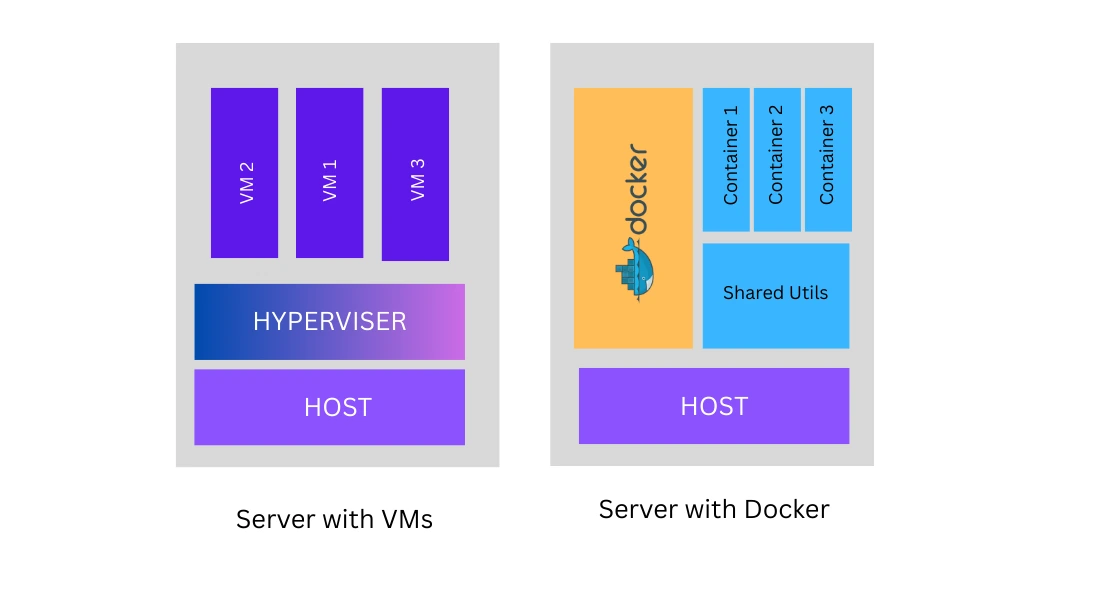
Docker vs Virtual Machines
Just imagine how many resources can be saved if we just use Docker to spin up our project instead of dedicating a whole VM to it. Besides that, Docker is also considered a good practice when we talk about microservice architecture. I’m going to write an article about it as well, where we review this approach in software development.
How to get started
Now, when we have enough theory to understand the essentials of Docker, including images and containers, we can learn how to get started with Docker.
👉 First step: Pre-requisites
✅ Select the application that you want to make available in Docker.
For me, this is going to be the movie app that I made in a previous article. You can check the link to the article, and here is the source code link — just clone it into your app. If you are not familiar with Git, I also wrote an article about it.
✅ Install Docker
Here is the link you can use to download it. Depending on your OS, you might need different executable.
Once Docker is installed, you need to launch the app. Now we are ready for the actual action.
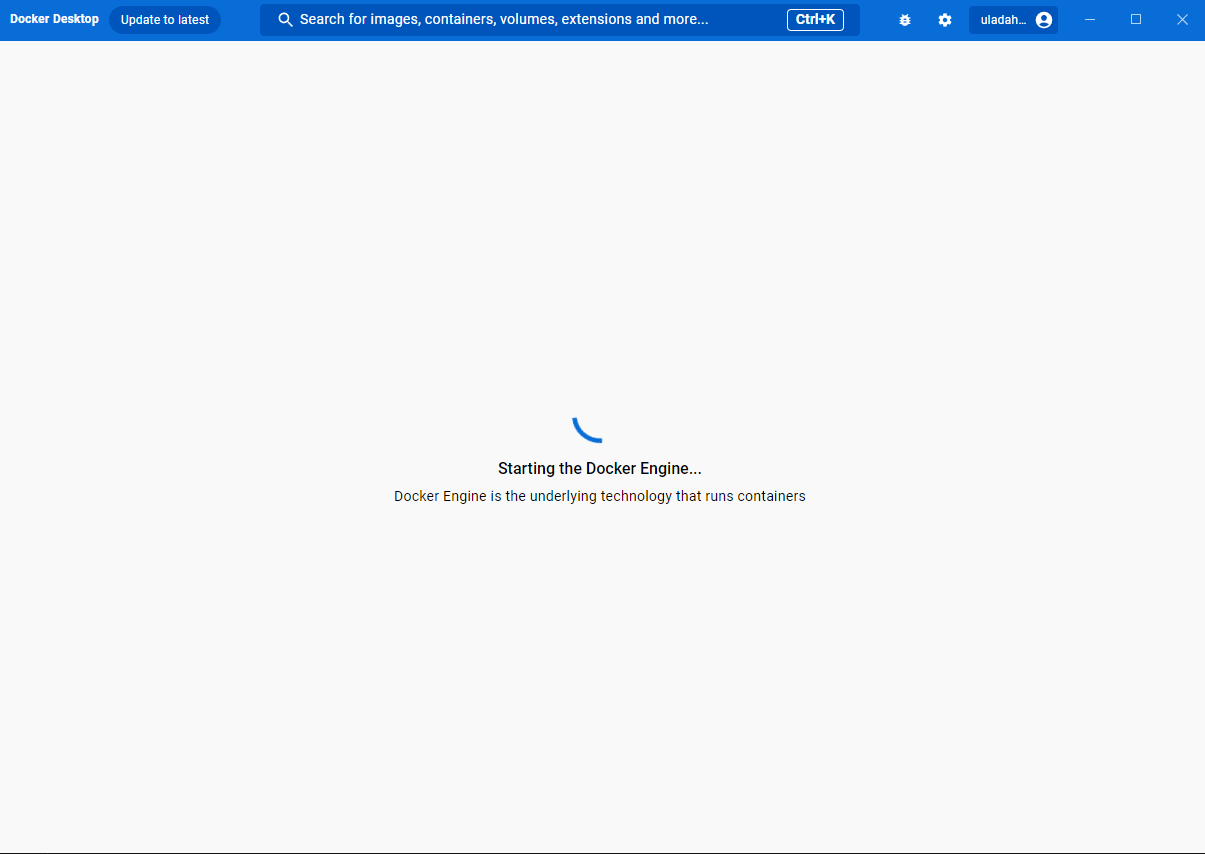
Docker engine is spinning
👉 Step Two: Creating Docker Image
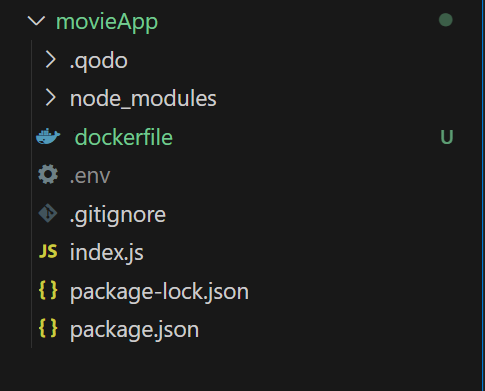
Now, I am going to create a Dockerfile in my movie app source folder.
The Dockerfile is a file for you to define the commands that tell Docker how to build your image, what dependancies to include and etc.
I use the command:
$ touch dockerfile
Here is how my application structure looks like:
Now, let's move to the dockerfile and create our image. We will specify our base image that already includes OS and Node.js, then we add files that should be added to the image, and the command we want our container to run (to install dependencies and actually run the app).
# define our base image, in our case it's node version 18 with alpine linux
# it is already have OS and node installed
FROM FROM node:22

# set the working directory
WORKDIR /app

# copy package.json and package-lock.json
COPY package*.json ./

# install dependencies
RUN npm install

# copy the rest of the application code
# COPY <source> <destination> - source are local machine files and destination is our container
COPY . .

# expose the application port
EXPOSE 3001

# start the application, it will run 'node index.js' command
CMD ["node", "index.js"]
So, if you have a Java app, a C# app, or an app in any other programming language, you can always use a corresponding base image, which you can fetch from Docker Hub. To build our image we should use the command:
$ docker build -t movie-app:latest .
👉 -t
means tag
We also provide name for our image and the version, you can give it any value.
Make sure to add . after your :latest tag
At this point, we should be able to see the newly created image in Docker Desktop.
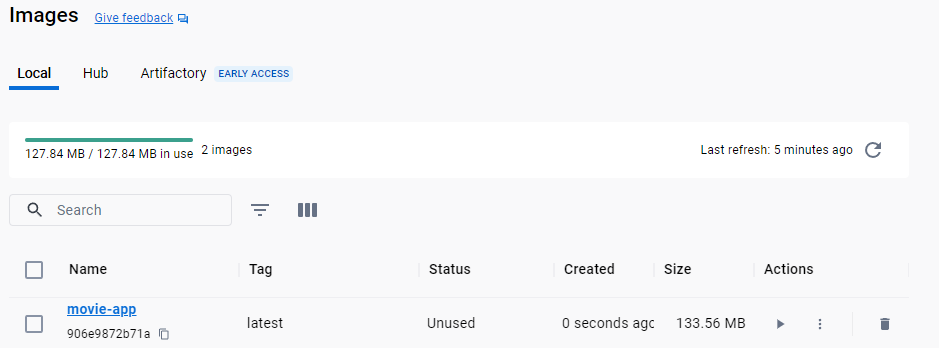
Now we can see our app image in Docker Desktop
👉 Step Three: Run our container
After creating our image, we can now spin up a container and try to access our movie app in the browser. To run the container, we use this command:
$ docker run -p 127.0.0.1:3001:3001 movie-app:latest
You can see we have port 3001. The -p flag follows this template: -p . The host_port should match the port your app uses to run. My Node app uses 3001, which is why I reuse it. and your container port should match your app port.
//index.js from movie app backend

const port = 3001
app.listen(port, () => {
  console.log(`Movie App listening on port ${port}`)
})
After you ran the command oyou should be avle to go to localhost:3001/getMovies and see list of movies:
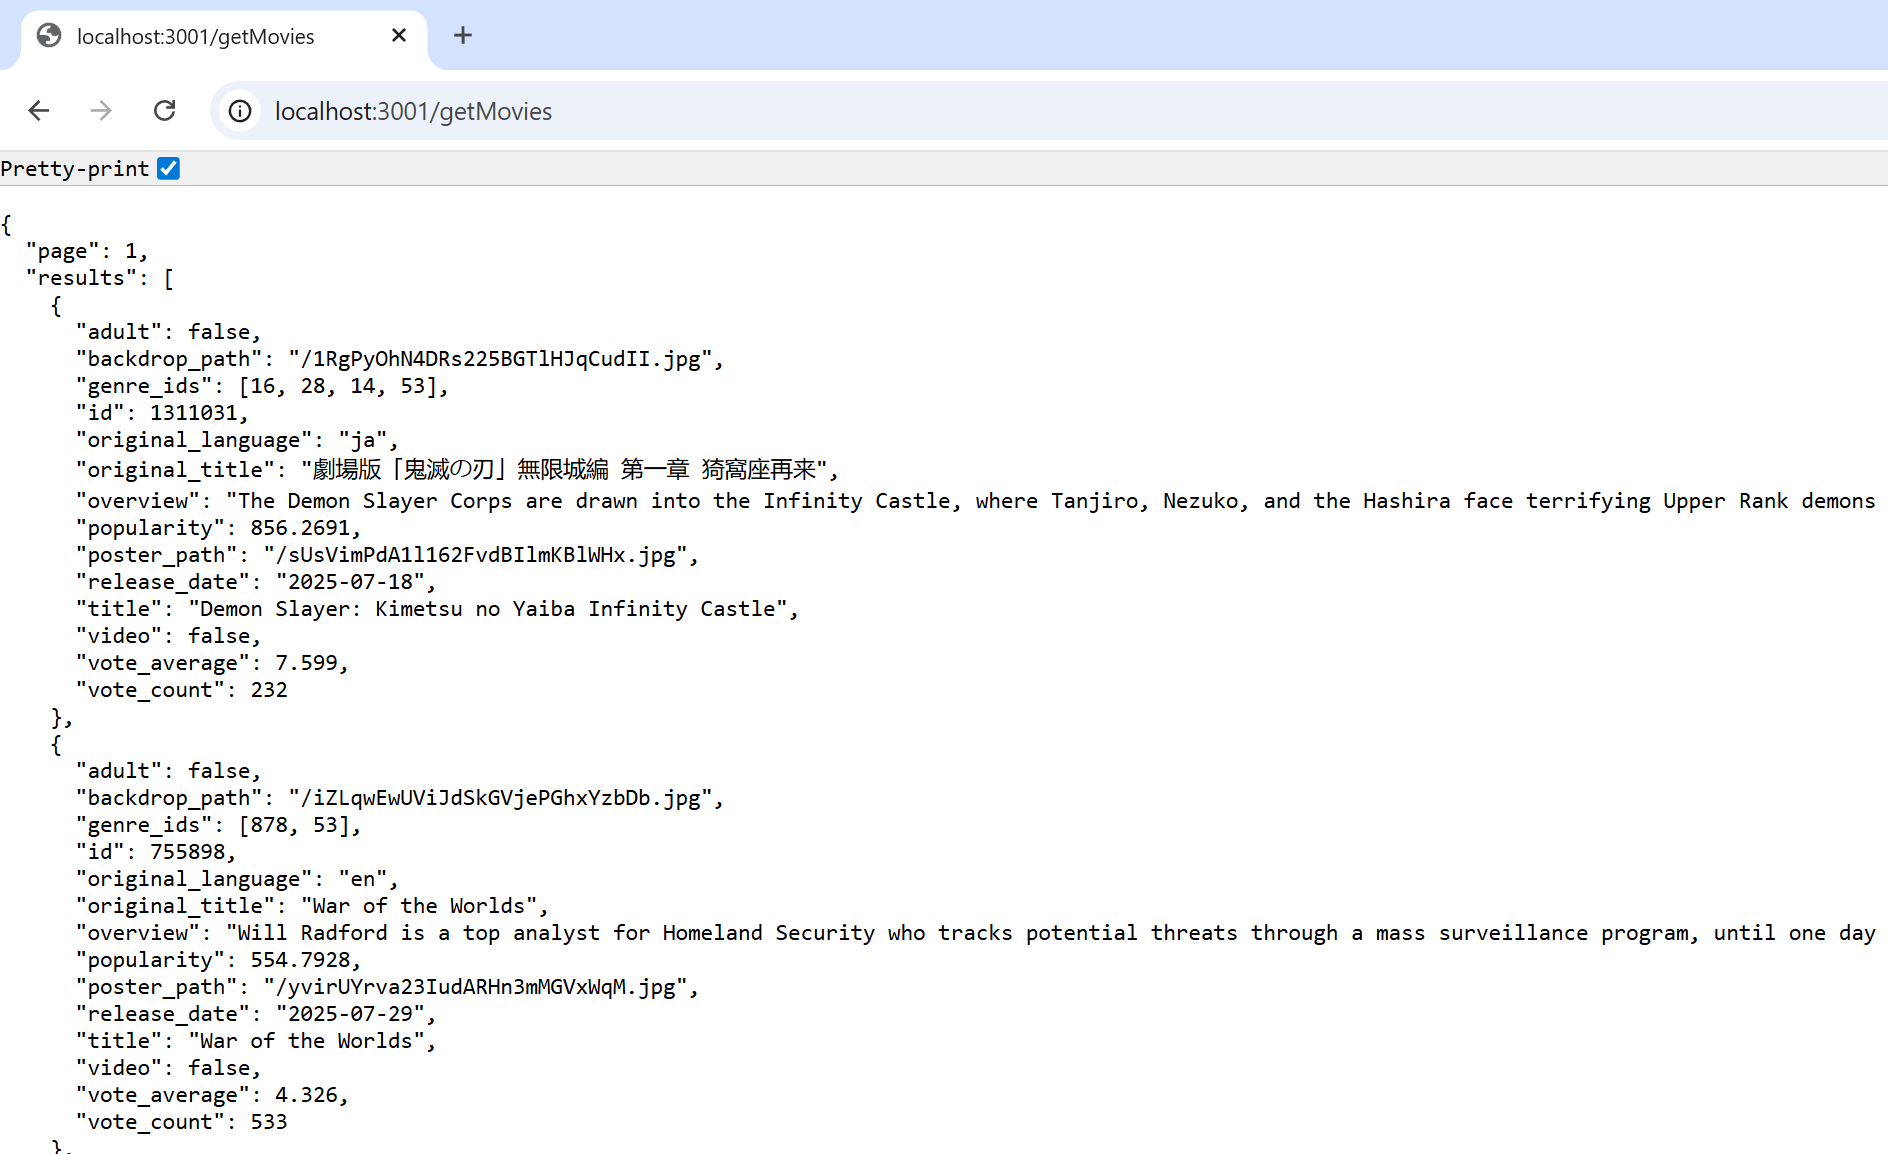
List of movies fetched from TMBD
Looks great, right? Now you can run your app anywhere with Docker, without installing Node on your device. Additionally, you can upload your image to Docker Hub, and other people can use your image and run it on their local machines. And this is where we pulled our node base image from. I’m going to talk about that in the next article. but now a few words about it
DockerHub
If you’ve ever worked with GitHub and Git, it might be easier for you to understand the idea behind Docker Hub. It’s a place where developers and companies push images of their software. You can find databases, AI bots, and other cool tools there. And of course, you can upload your own images, so definitely check it out.
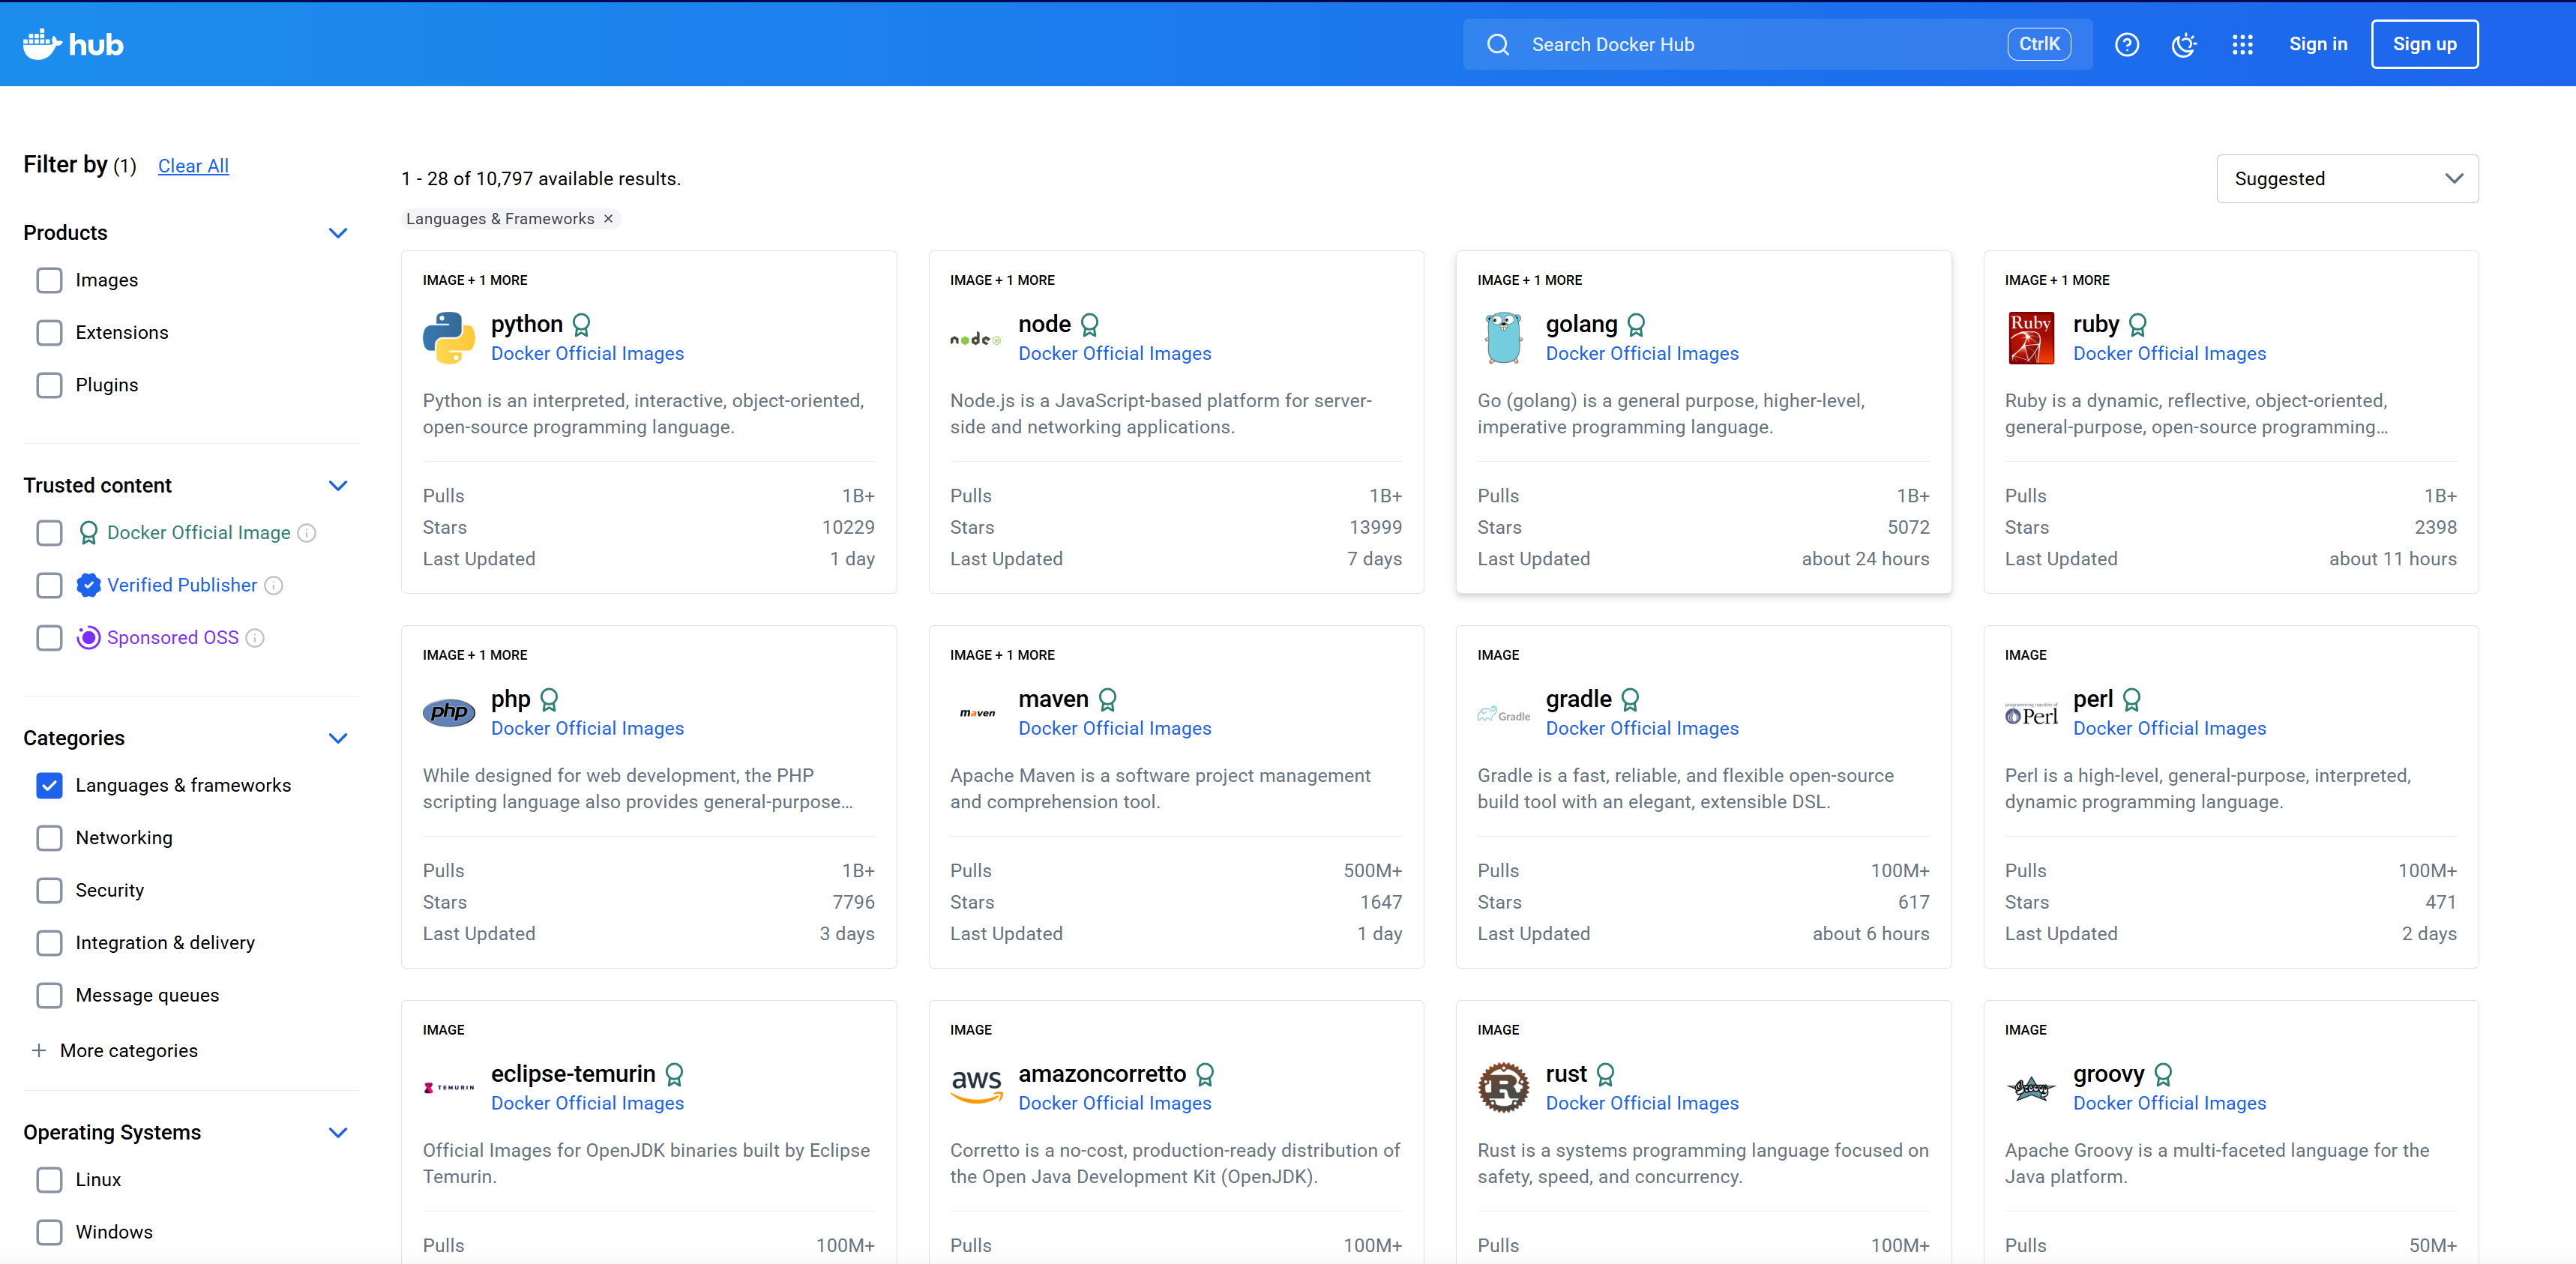
Docker Hub has images of Programming languages
Common Docker Commands
I want to provide you with a cheatsheet of Docker commands that could be useful for you.
👉 docker build -t image-name . building image from a dockerfile. This is a command we used today
👉 docker images list all images on your device
👉 docker rmi image-name remove image
👉 docker ps list running containers
👉 docker ps -a list all containers, including stopped ones.
👉 docker stop container_id stop running container
👉 docker push username/image-name:tag push image to DockerHub
👉 docker pull username/image-name:tag pull image to DockerHub
I really hope this article was helpful for you. Don't hesitate to subscribe to my YouTube channel and Telegram to not miss any new content!
Happy Coding!


Comments