

Hello dev! Today, we are going to explore a part of the MERN tech stack — Node.js. If working with JavaScript is new to you, I would recommend checking out this article first, and then come back to build the project with me. I believe the best way to learn a new technology is by building something with it, and that’s exactly what we’re going to do today.
The project will be a popular app that many companies ask candidates to build as practice — a movie app. Node.js and Express will handle the backend, and React will take care of the frontend. Also, if you need a source code, you can check the repo.
So buckle up, and let’s get started!
For my readers who prefer to watch videos, you can check this out:
Theory first: What is Node.js?
Before we jump into project creation, I want to give you a bit of an overview of what Node.js is and how it works.
(Don’t worry, this is just a brief overview — no implementation details.)
Node.js is a cross-platform runtime environment (meaning it works on Linux, Windows, and MacOS) for JavaScript.
As I mentioned in this video and article, JavaScript can’t be executed outside the browser and obviously couldn’t be used as a server-side language — but Node.js changed that.
Simply put, Node.js helps us build the backend using JavaScript.
The benefits of Node.js are that it is I/O non-blocking, meaning it is asynchronous.
So, while you are fetching data from a database, your users can do other things during this time without waiting for the server response in a frozen state.
Isn’t that cool?
Here is an example of creating a basic server from the Node.js documentation:
// server.mjs
import { createServer } from 'node:http';

const server = createServer((req, res) => {
  res.writeHead(200, { 'Content-Type': 'text/plain' });
  res.end('Hello World!\n');
});

// starts a simple http server locally on port 3000
server.listen(3000, '127.0.0.1', () => {
  console.log('Listening on 127.0.0.1:3000');
});
On its own, Node.js is a very low-level implementation, and for an actual production app, it is not used as often.
Luckily, we don’t have to reinvent the wheel and write everything ourselves — other smart developers have already created a framework for us called Express.js.
Express.js was created as a minimalistic framework for Node.js that helps us build web and mobile applications.
It adds routing and middleware to Node.js, making it much easier to handle than writing everything on your own.
Here’s a simple example of routing from the Express.js documentation:
const express = require('express')
const app = express()
const port = 3000

app.get('/', (req, res) => {
  res.send('Hello World!')
})

app.listen(port, () => {
  console.log(`Example app listening on port ${port}`)
})
Project Set up
We’ll start building our project by setting up the backend. To do this, you need to install Node.js.
Check that you have it installed by running this commands in your terminal
$ node -v
Now, step by step instructions.
1. Create a folder for your project using terminal
$ mkdir <yourfolderName>
2. Go inside the folder and create a new Node.js project:
$ cd <yourfolderName>
$ npm init
NPM stands for Node Package Manager. It is installed automatically with Node.js and helps you install all the necessary third-party utilities for your project. We will also use it to install Express.
During the installation, the terminal will ask you certain questions, such as the project name, description, and entry point. You can skip these by pressing Enter, but you can also provide a name for your project.
All the data you enter will be reflected in the package.json file. This file contains important information about your project, such as dependencies, name, version, scripts, and more. For example, when we install Express, you will see it listed in package.json.
// package.json
{
  "name": "movie-app",
  "version": "1.0.0",
  "description": "Coding Heaven movie app demo",
  "main": "index.js",
  "scripts": {
    "test": "test "
  },
  "keywords": [
    "node"
  ],
  "author": "Vlada",
  "license": "ISC"
}
3. Now we are ready to install Express.js. Use this command in your terminal:
$ npm install express
Check your package.json again, the expess should show up in the dependencies.
{
  "name": "movie-app",
  "version": "1.0.0",
  "description": "Coding Heaven movie app demo",
  "main": "index.js",
  "scripts": {
    "test": "test "
  },
  "keywords": [
    "node"
  ],
  "author": "Vlada",
  "license": "ISC",
  "dependencies": {
    "express": "^5.1.0" // here it is
  }
}
4. Step for, create index.js and set uo our express endpoint.
touch index.js
Make sure to have the same name for your file as value of main field in package.json
 //...prev code
  "main": "index.js",
Inside newly created index.js file, we want to place next code:
const express = require('express') // We importing express module
const app = express() // assigning the module to app
const port = 3001 // port number where our backend runs
// Our first API routes
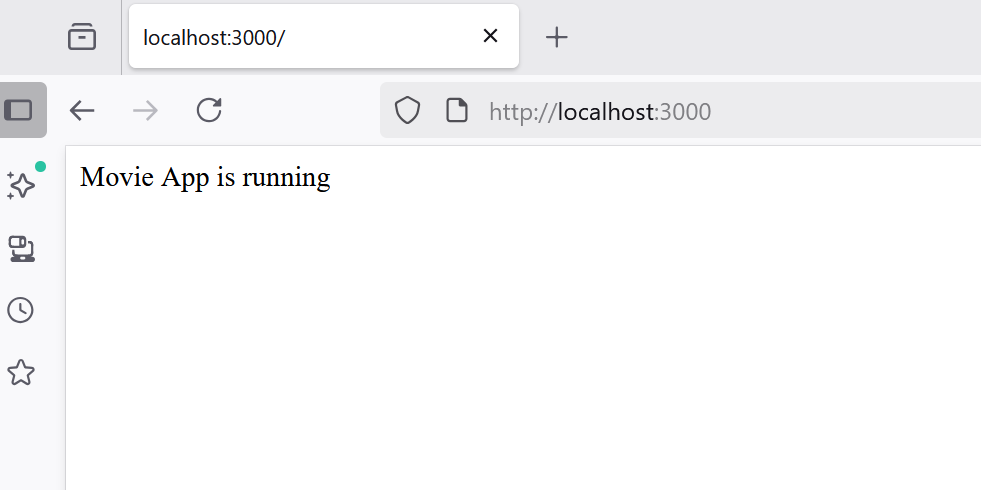
app.get('/', (req, res) => {
res.send('Movie App is running')
})
app.get('/getMovies', (req, res) => {
res.send('Hey, going to fetch movies for you!')
})
// Setting our express app to listen on our port and type it in the terminal
app.listen(port, () => {
console.log(`Movie App listening on port ${port}`)
})
Now we can run our backend with this command:
$ node run index.js
If everything was done correctly, you should see output in the temrinal
$ Example app listening on port 3001
Now, let's go to the browser and check our route. Go to the address:
http://localhost:3001/
http://localhost:3001/getMovies
Result should look like this:
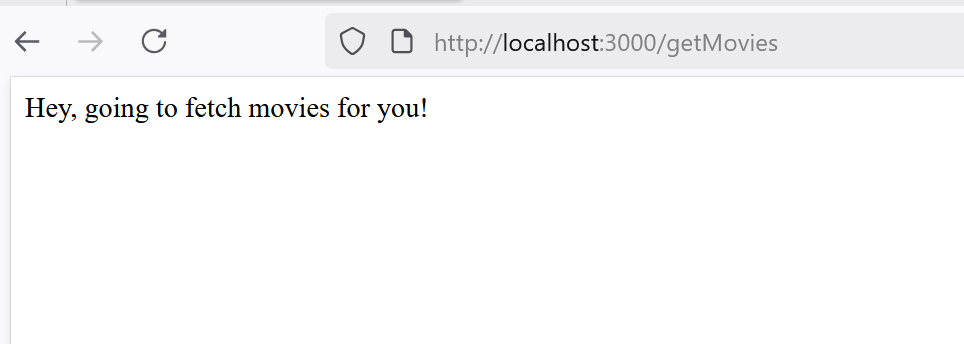
This may look like plain text, but it’s essentially what the backend is about—sending data to us. We’ll keep our / route, but the place where we’ll perform our programming "magic" will be the /getMovies route.
5. Get the movies data from third party API.
I am going to use this free source for movies, here is the link to TMDB
The first thing you need to do is create an account and obtain API keys.
API stands for Application Programming Interface. Think of it as a set of routes on the backend that you can use to get the data or results you need. Some people compare it to a restaurant: you are the customer, the API is the waiter who fetches your order, and the chef represents the backend or service.
These keys act as authenticators when you try to access third-party API data.
After signing up, go to API Subscription, which should be displayed when you click on your user picture.
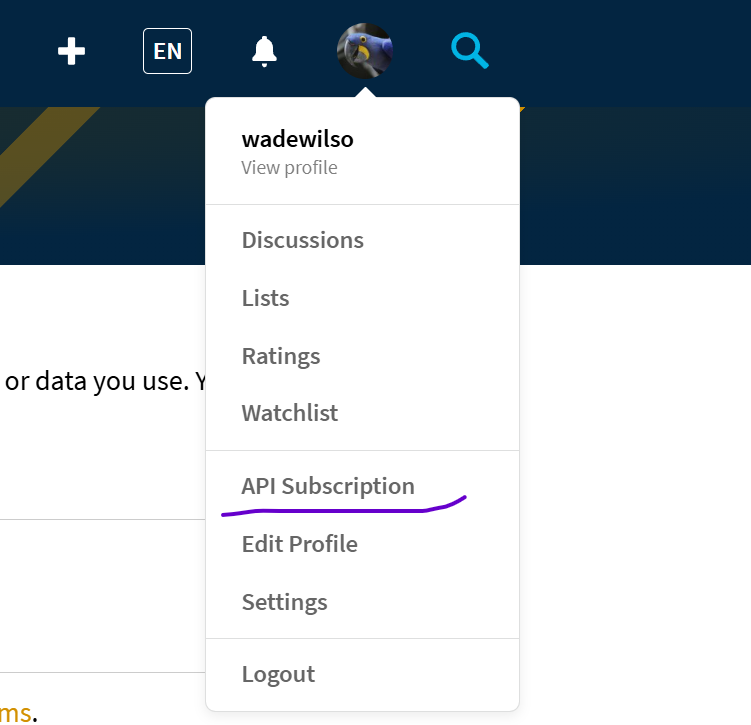
So, there you should see API Key sequence of numbers. You need to copy it somewhere, we are going to use it in a minute.
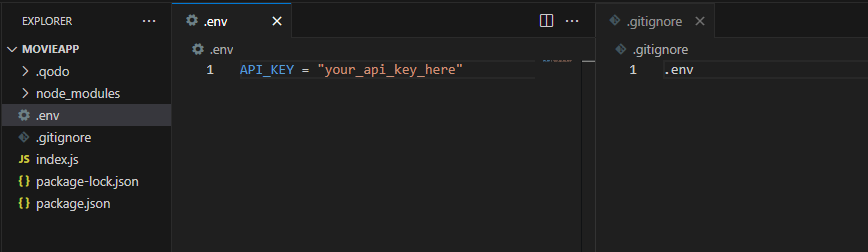
These keys are sensitive information, so you should make sure not to post them anywhere on GitHub or the internet. To keep them safe, we can use a .env file. This file stores your sensitive information securely and allows you to access it in your project. Usually, we add the .env file to .gitignore so it doesn’t get pushed to GitHub.
So, let's add our key to the project.
👉 Create .env file in your project.
👉 Create .gitignore file in your project and add a line that contains .env there
👉 : Add API_KEY to the file and copy your API key value to it
👉 Instal dotenv package to let Node read sensitive data from .env
npm install dotenv --save
Check the image to see how it should look like:
Now we can go ahead and make our API calls to TMDB. The site provides API documentation where we can see all the available endpoints. Under the API Reference tab, you’ll find the routes you can call to fetch data.
In this tutorial, I’ll fetch all popular movies, which we’ll display in our project. Of course, you can use any other API endpoint from the website if you prefer.
👉 In index.js file we want to update our /getMovies body function and add import our dotenv module.
const express = require('express')
require('dotenv').config() // this is a new line import dotenv
const app = express()
const port = 3000

app.get('/', (req, res) => {
  res.send('Movie App is running')
})

app.get('/getMovies', async (req, res) => {

  //Fetch the data
    const response = await fetch(`https://api.themoviedb.org/3/movie/popular?api_key=${process.env.API_KEY}&language=en-US&page=1`)
    const data = await response.json()
    res.send(data)
})
You might be a bit scare of all this unknown code, but don't worry. This is just a scary syntax, what is really going on here:
👉 fetch - specific JavaScript functionality (API) that helps us to send web requests. And it sends requests to a provided route (URL) that we took from our TDBM (they provided it on their website)
👉 {process.env.API_KEY} is our API_Key value from .env file.
👉 async/await means we are making an asynchronous request, so we are not blocking the global thread while waiting for a response from the API.
These two concepts deserve a separate article, which I plan to write. For now, simply put, we are saying that the response variable should get its value from the fetch, and the code will not move to the next statement until fetch either succeeds or fails.
👉 await response.json() we are waiting when reposponse will be converted into json
👉 res.send(data) after it is converted send it to our client
And this is how our route output looks like now:

So, this is good enought for us, and we can take a break. I am going to describe a front-end part for the project in the next article.
Happy Coding!🚀


Comments