

Hello, devs! Today we continue working on our Movie application, focusing on the frontend part. If you missed the backend setup, you can check out part one of the tutorial. Also, if you need a source code, you can check the repo.
For my readers who prefer to watch videos, you can check this out:
Setting Up a new React app
Now we’re going to start by creating a new React project. I recommend creating a new directory and placing your movie backend folder inside it. Then, inside this newly created parent folder, we’ll run the command to create a React app.
npx create-react-app my-app
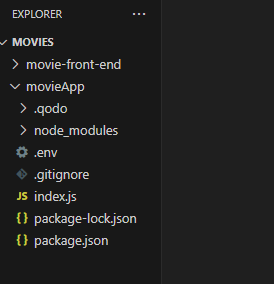
So my folder structure looks like this now:
To run your front-end app, you can use the command:
npm start
You should see the default React app if you go to localhost:3000:

Now that everything is up and running, we can start creating our Movie App container. Let’s update our App.js and index.js files.
import './App.css';
function App() {
  return (
    <div className="App">
    </div>
  );
}
export default App;
index.js is our app’s entry point, and we just need to clean it up. App.js will be our main component that displays the movies.
import React from 'react';
import ReactDOM from 'react-dom/client';
import './index.css';
import App from './App';

const root = ReactDOM.createRoot(document.getElementById('root'));
root.render(
  <React.StrictMode>
    <App />
  </React.StrictMode>
);
👉
App.css I removed all CSS rules from the file; we’re going to write our own.👉
reportWebVitals.js We can remove this file.
👉
index.css Keep it as it is; this file contains our global app styles.
👉
setupTests.js We’re not going to use it.
👉
App.test.js We don’t need it this time.
Display movies data in App.js
Our main work will be in App.js, as I mentioned earlier. This will be a component, that is responsible for fetching movie data from our backend and displaying the results on the page. App.css will be used to apply styles specifically to this App component.
Let's update our App.js:
import './App.css';
import { useState } from 'react';
function App() {
const [movies, setMovies] = useState([]); // react hook to manage state
const fetchMovies = async () => {
const response = await fetch('http://localhost:3001/getMovies'); /
const data = await response.json();
setMovies(data.results);
}
useEffect(() => {
fetchMovies();
}, []);
return ( // Everything inside the return will be displayed on the page
<div className="App">
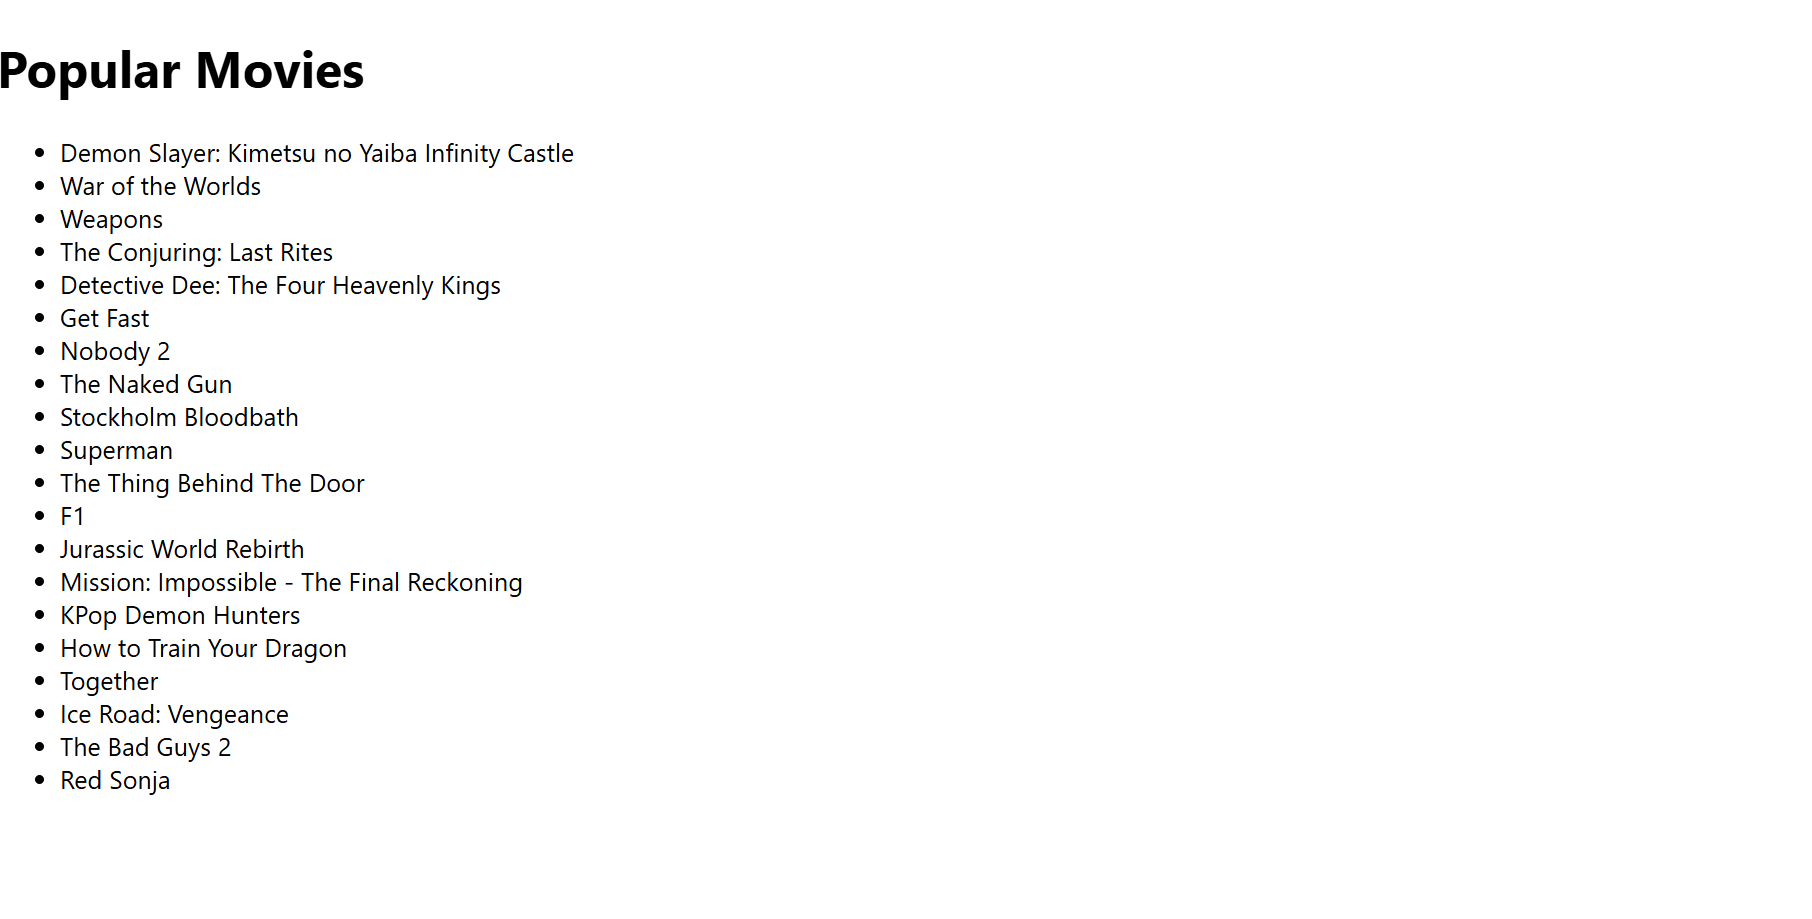
<h1>Popular Movies</h1>
<ul>
{movies.map(movie => ( /*This is how we map our results to element in the list*/
<li key={movie.id}>{movie.title}</li>
))}
</ul>
</div>
);
}
Let’s review our code:
👉
const [movies, setMovies] — This is one of the React hooks. We use it to manage and update the state of certain values. When we receive new data from our server, we assign it to this state instead of leaving it empty.
movies — the variable that stores the values.
setMovies — the function used to update the value.
👉
await fetch(‘http://localhost:3001/getMovies’) — Here, we’re making a request to our server that we created in the
previous post. We use the JavaScript Fetch API for that.
👉
setMovies(data.results) — This is how we reassign our movies state. Now, the movies variable contains the list of movies.
👉
useEffect — This is another React hook that runs side effects. In our case, it runs as soon as the App.js component appears on the page and makes a call to our server.
We’re almost done, but there’s one last thing we need to take care of. Right now, our request is being blocked by CORS. This is a browser security feature that prevents web clients sending requests to different domains.
To fix this, we need to update the index.js file in our movie backend and add CORS support. So, let’s navigate to the movie app folder and install the cors package.
// index.js in movies backend

const express = require('express')
require('dotenv').config()
const app = express()
const port = 3001

var cors = require('cors')
app.use(cors())

// keep the rest of the code unchanged
Now let's visitlocalhost:3000 and see the result
Awesome, we got our data! Now let's add some differentiation. I want to display posters for each movie, rating and release date. And also make a separate section for movies that have rating higher than 7.
function App() {
  const [popularMovies, setPopularMovies] = useState([]);
  const [highlyRated, sethighlyRatedMovies] = useState([]);

  const fetchMovies = async () => {
    const response = await fetch("http://localhost:3001/getMovies");
    const data = await response.json();
    const results = data.results;

    const popMovies = results.filter((movie) => movie.popularity > 400);
    const highlyRatedMovies = results.filter((movie) => movie.vote_average > 7);

    setPopularMovies(popMovies);
    sethighlyRatedMovies(highlyRatedMovies);
  };

  useEffect(() => {
    fetchMovies();
  }, []);

  return (
    <div className="App">
      <section>
        <h3>Popular Movies</h3>
        <ul>
          {popularMovies.map((movie) => (
            <li key={movie.id}>
              {movie.title}
              <span>Released: {movie.release_date}</span>
              <img
                src={`https://image.tmdb.org/t/p/w500${movie.poster_path}`}
                alt={movie.title}
              />
              <span>Rating: {movie.vote_average}</span>
            </li>
          ))}
        </ul>
      </section>
            <section>
        <h3>Highly Movies</h3>
        <ul>
          {highlyRated.map((movie) => (
            <li key={movie.id}>
              {movie.title}
              <span>Released: {movie.release_date}</span>
              <img
                src={`https://image.tmdb.org/t/p/w500${movie.poster_path}`}
                alt={movie.title}
              />
              <span>Rating: {
              movie.vote_average

              } ⭐</span>
            </li>
          ))}
        </ul>
      </section>
    </div>
  );
}
At this point, we are done with our compoentn, and now we can add styles.
Add Styles to our movies
Update index.css to add a nice background.
/*index.css front-end*/

body {
  /*Add these 3 lines to previous code. This will create a nice gradient background*/
  background: #833AB4;
  background: linear-gradient(80deg,rgba(131, 58, 180, 1) 0%, rgb(0, 0, 0) 50%, rgb(67, 3, 92) 100%);
    color: white;
}
Now, it's time to update our index.js and add classes and ids.
// prev code
return (
  <div className="App">
  <section className="movies-section">
    <h3>Popular Movies</h3>
    <ul className="movies-list">
      {popularMovies.map((movie) => (
        <li key={movie.id} className="movie-card">
          <img
            src={`https://image.tmdb.org/t/p/w500${movie.poster_path}`}
            alt={movie.title}
          />
          <div className="movie-info">
            <h4>{movie.title}</h4>
            <span>Released: {movie.release_date}</span>
            <span>Rating: {movie.vote_average} ⭐</span>
          </div>
        </li>
      ))}
    </ul>
  </section>

  <section className="movies-section">
    <h3>Highly Rated</h3>
    <ul className="movies-list">
      {highlyRated.map((movie) => (
        <li key={movie.id} className="movie-card">
          <img
            src={`https://image.tmdb.org/t/p/w500${movie.poster_path}`}
            alt={movie.title}
          />
          <div className="movie-info">
            <h4>{movie.title}</h4>
            <span>Released: {movie.release_date}</span>
            <span>Rating: {movie.vote_average} ⭐</span>
          </div>
        </li>
      ))}
    </ul>
  </section>
</div>);
And now add this to App.css
.App {
  min-height: 100vh;
  padding: 2rem;
  background: linear-gradient(
    80deg,
    rgba(131, 58, 180, 1) 0%,
    rgb(0, 0, 0) 50%,
    rgb(67, 3, 92) 100%
  );
  color: #fff;
  font-family: Arial, Helvetica, sans-serif;
}

.movies-section {
  margin-bottom: 3rem;
}

.movies-section h3 {
  font-size: 1.8rem;
  margin-bottom: 1rem;
  border-left: 4px solid #ffdd57;
  padding-left: 0.5rem;
}

.movies-list {
  list-style: none;
  display: grid;
  grid-template-columns: repeat(auto-fill, minmax(180px, 1fr));
  gap: 1.5rem;
  padding: 0;
  margin: 0;
}

.movie-card {
  background: rgba(255, 255, 255, 0.08);
  border-radius: 12px;
  overflow: hidden;
  transition: transform 0.2s ease, box-shadow 0.2s ease;
}

.movie-card:hover {
  transform: translateY(-5px);
  box-shadow: 0 6px 15px rgba(0, 0, 0, 0.5);
}

.movie-card img {
  width: 100%;
  height: auto;
  display: block;
}

.movie-info {
  padding: 0.8rem;
}

.movie-info h4 {
  font-size: 1rem;
  margin-bottom: 0.4rem;
}

.movie-info span {
  display: block;
  font-size: 0.85rem;
  color: #ddd;
  margin-bottom: 0.2rem;
}
And let's check out the final result:
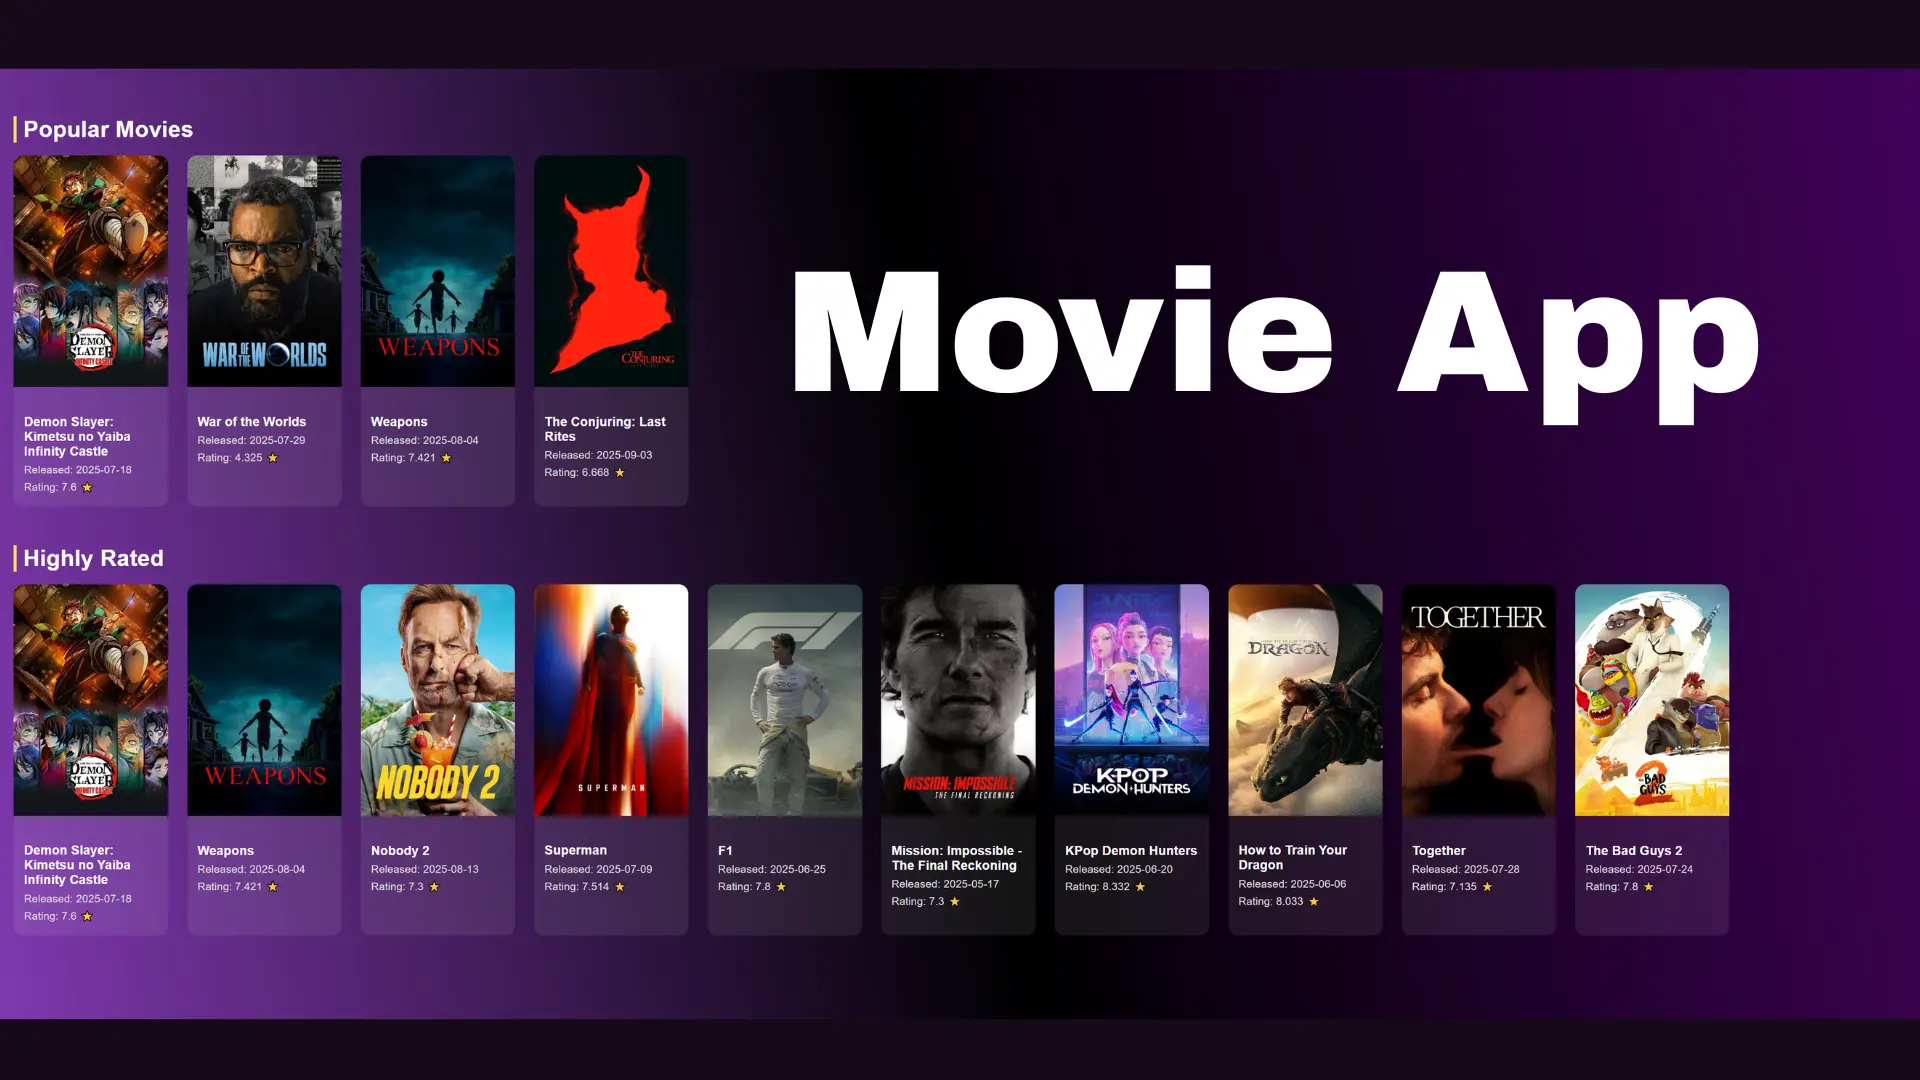
I think it looks pretty good, you also can go ahead to play around and add new things and feature.
Thank you for building the project with me I will see you in the next article.
Happy Coding!


Comments