

Hey future dev, this is V, and today we're going to talk about what is HTML, why do we need it and how to utilize it. So get comfortable, open your code editor and we start!
What is HTML?
HTML stands for HyperText Markup Language. It’s important to note that HTML is not a programming language — it’s a markup language, so don’t confuse the two. Developers use it on the front-end part of web development.
You can think of HTML as the skeleton or structure of a webpage. When you visit any website, you see different elements like headings, paragraphs, images, links, and more — all of those are created using HTML elements, also known as tags. Don’t worry, you’ll be learning more about these soon.
How can I get started with it?
To get started with HTML, you need a few things: a computer and a simple code or text editor. I prefer using Visual Studio Code, but you can use anything — even Notepad (haha, just kidding, don’t do that).
Your first step is to create an HTML file. To do this, create a new file and give it the .html extension. For example: home.html. Make sure there’s nothing after the period — it should end with just .html.

Creating a new text file in Windows 10
After creating the file, you can open it in a browser. You’ll see a blank page, obviously, because there’s nothing in the file yet.
Now, open the file in your editor (again, I’ll be using Visual Studio Code), and let’s start exploring the world of HTML tags!
Tags and atrributes
As you might have already guessed, tags are the “bones” that make up the HTML skeleton. There are many different tags in HTML, each with its own purpose.
So let’s start from the beginning. Every HTML document starts with the following basic structure:
<!DOCTYPE html>
<html lang="en">
<head>
    <meta charset="UTF-8">
    <meta name="viewport" content="width=device-width, initial-scale=1.0">
    <title>Document Name</title>
</head>
<body>

</body>
</html>
Let’s break this down:
<!DOCTYPE html>: This tells the browser that we’re working with an HTML5 document, so it knows how to interpret the code properly.
<html>: This tag wraps the entire HTML content.
Everything inside the <head> tag is metadata — information about the page that isn’t shown directly to the user. This includes the character set, page title, and viewport settings for responsiveness.
The <body> tag contains all the content that will be visible to the user on the page.
Now that we understand the structure, let’s take a look at what kind of tags we can use inside the <body> to start building our webpage.
<body>
   <!-- We have heading tags from h1 to h6 -->
    <h1>I am the biggest heading here</h1>
    <h2>I am the second biggest heading here</h2>
    <h3>I am the third biggest heading here</h3>
    <h6>I am the smallest heading here</h6>

    <p>I am a paragraph</p>

    <img src="https://picsum.photos/200/300" alt="Random Image" />

    <a href="https://www.example.com">This is a link</a>

    <ul>
        <li>List item 1</li>
        <li>List item 2</li>
        <li>List item 3</li>
    </ul>

    <ol>
        <li>Ordered item 1</li>
        <li>Ordered item 2</li>
        <li>Ordered item 3</li>
    </ol>

    <button>Click me!</button>

    <form>
        <label for="name">Name:</label>
        <input type="text" id="name" name="name">
        <input type="submit" value="Submit">
    </form>

</body>
These are some of the most common tags used for UI elements — they’re actual interactive elements. Here’s how they look on a page. You can refresh your browser after saving your .html file to see the result.
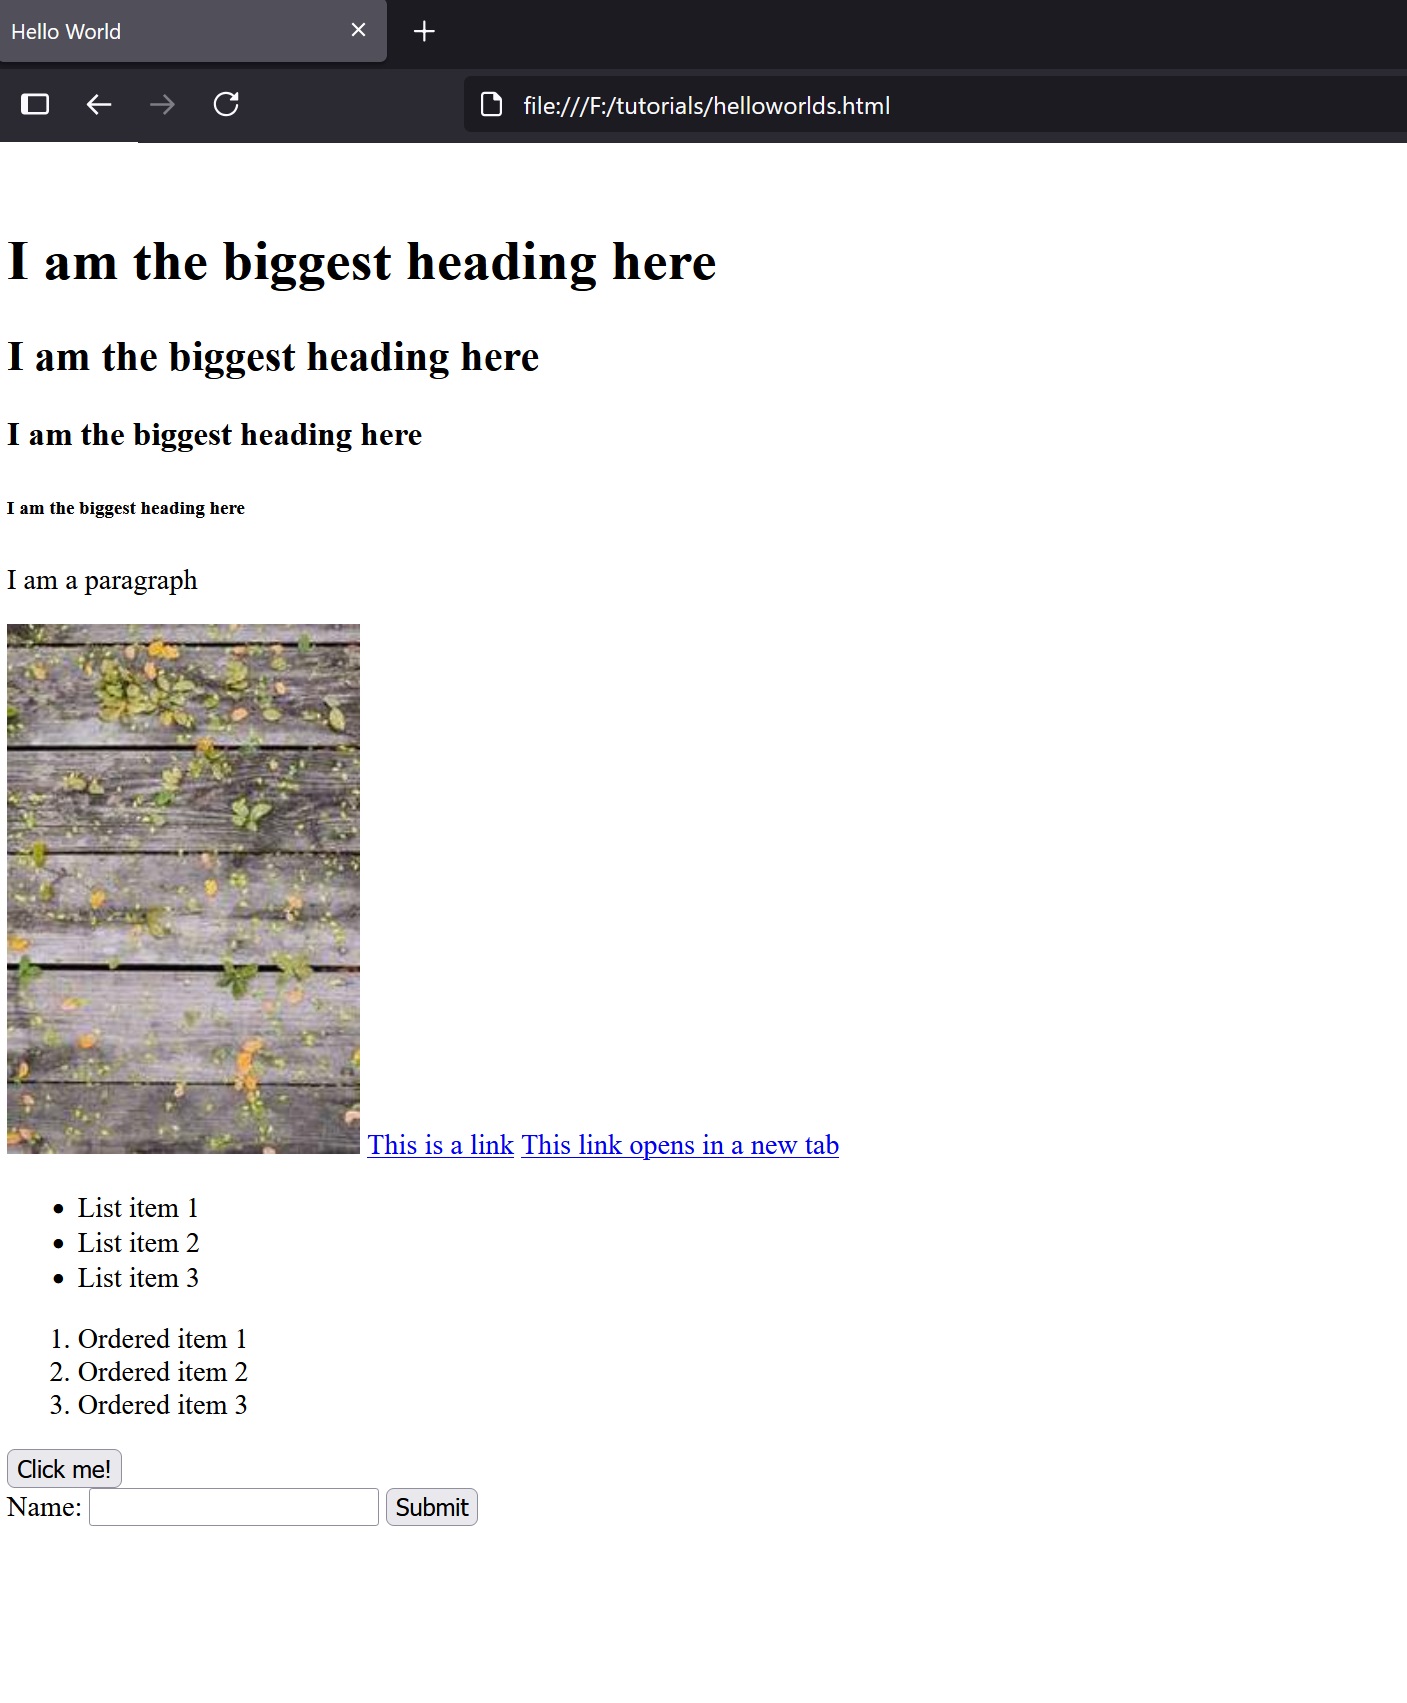
The web page after we updated our html file
You’ll notice that elements appear on the page one after another, in the same order as they are written in the HTML code. So, if you want to move a heading <h2> below a paragraph <p>, you just need to rearrange the code in your file.
Also, you’ve probably noticed that some tags look like this: <p></p>, while others look like this: <img/>. The second type is called a self-closing tag — just something to remember!
Container tags and Semantic tags
We just reviewed the interactive elements that HTML offers, but sometimes we need to organize our content logically. For that, HTML provides a container tag called <div>.
The <div> element acts like a wrapper around your content and helps to group related elements, especially when you want to apply specific styles to a section of your page.
<div>
    <p>I am located inside the div</p>
</div>
However, as websites became more complex, developers ended up with deeply nested <div> elements, creating what's often referred to as "div hell" — a situation where the structure becomes messy and hard to read.
To solve this problem, HTML5 introduced semantic tags. These tags work just like <div>, but they add meaning to the content, making the structure more readable and accessible.
Here’s an example of how modern developers create a website header using semantic HTML:
<header>
    <img src="https://picsum.photos/100/100" alt="Logo">
    <nav>
        <ul>
            <li><a href="#home">Home</a></li>
            <li><a href="#about">About</a></li>
            <li><a href="#contact">Contact</a></li>
        </ul>
    </nav>
</header>
In this example:
<header> is the main container for the top section of the page.
<img> is used to display a logo.
<nav> holds the navigation links.
<ul> and <li> create a list of links to different sections of the page.
Using semantic tags like <header>, <nav>, <main> helps both developers and browsers understand the structure and purpose of each section of the webpage.
Attributes
Now, let’s talk about attributes.
Take this tag as an example: <img/>. Everything inside this tag is called an attribute. Some tags are required to have certain attributes. For example, the <img> tag should include:
src – which stands for “source” and defines the image URL
alt – alternative text shown if the image doesn’t load
We use attributes to attach extra information to elements.
Also, if we want to style an element (like changing the font, color, size, etc.), we can use attributes like class or id, for example <p class="paragraph_style">. These are used in CSS to apply styles to specific elements.
Practice time: Building our first web page
Here is a simple exersice for you:
Create a web page that has a browser tab titled Home. Your page should include the following:
👉
At least 1 image
👉
Two different types of headings
👉
3 paragraphs of text
👉
3 links
👉
1 ordered or unordered list
👉
Using 1+ semantic tags (header, section, etc.)
List of HTML tags: W3School HTML tags
You are always welcome to add more tags to your page, and in the next article we are going to explore CSS and how to make your webpage nice and stylish.
Don't hesitate to subscribe to my YouTube channel and Telegram to not miss any new content!
Good luck and Happy Coding!🚀


Comments